Monday, April 28, 2014

1,000 views!

It might seem like a small milestone to seasoned bloggers, but I am SO EXCITED to have reached over 1,000 view this morning!

I'm going to take this opportunity to also announce that we are moving from New York to Florida this summer! We (the bf and I) are very excited about this new chapter in our lives, and to finally be WARM for once! :)

If anyone has any tips about moving/packing or Florida in general I would love to hear them! (You can comment below).

Also, since I reached 1,000 views today, I thought I would try to survey my followers and see what they'd like me to blog more about. Do you want more dessert recipes? More healthy dinners? More DIY beauty products? Or maybe something else? I would really LOVE to hear your suggestions!
Maybe I'll even share some of my creations with those that post a comment....     ;-)

Anyway, THANK YOU so much for following my blog or even just reading it occasionally. Your comments are what make me want to keep blogging! Here's to another thousand views! 


(Enjoy my explanatory emotion GIFs --- which don't seem to be playing automatically, but if you click on them they should). 


Sunday, April 27, 2014

Homemade Toner/Astringent


Homemade Toner or Astringent is probably one of the easiest DIY skincare products you can make. There's only 3 ingredients, one of which is water, and another of which is optional.

Here is what you'll need:

~2/3 cup water (I used filtered)
a few drops of tea tree oil (Trader Joe's sells it and of course Amazon has everything)
a few drops of lemongrass essential oil (also on Amazon) (optional)


How to use it: 
Fill a small bottle with filtered water. Mine held almost 2/3 of a cup. Put in a few drops of tea tree oil, and a few drops of lemongrass EO (if you want). It still works REALLY well without the lemongrass, however TTO does not smell so great, so if the smell makes you gag, add the lemongrass (or other essential oil). I chose lemongrass because of what it says on the back of the bottle:


I use this toner/astringent/whatever-you-want-to-call-it, after I wash my face to remove excess makeup, dirt and oil. I also use it sometimes when I haven't worn makeup that day, and I'm too lazy to wash my face. Probably a terrible idea (to not wash my face), but hey, it's better than nothing I guess. 
Pour a small amount onto a cottonball and wipe your face. You will be shocked at the amount of dirt that is still on your face after you just finished washing it.
I have normal/oily skin, so I don't always put moisturizer on after, but if you have dry skin, you might want to do that. This toner tends to dry out your face a little. 
Also note, DO NOT GET THIS IN YOUR EYES. I haven't done this (yet) but I have a feeling it will sting a lot. 

I hope you give this very easy DIY toner a try!  Leave a comment and tell all your friends! :) 

~Mallory~

Tuesday, April 22, 2014

Pea Soup

Pea Soup isn't the prettiest of foods. 


But it is quite delicious. Especially in the spring or fall, and especially when you have leftover Easter ham and you're tired of ham sandwiches. 

So here is my recipe for pea soup in the Crockpot, which is VERY easy to make, and can easily be made vegetarian by leaving out the ham and replacing the chicken stock with vegetable stock (if you're into that sort of thing). 

Ingredients:
1 bag (16 oz.) dried split peas
4-5 celery stalks, diced
4-5 carrots, diced
1/2 a white onion, diced
~6 cups of warm water, mixed with 
4 heaping teaspoons of Organic Better Than Bouillon Chicken Base (or any other stock you want to use)
2 Bay Leaves
1/2 tsp. dried thyme
~1 cup diced leftover ham, or however much you have left (optional)
salt and pepper to taste

Directions:
Place all ingredients in the Crockpot (in the order listed). Cook for 8-10 hours on low or 4-5 hours on high. You can use an immersion blender to mix it a little if you want, or leave as is. I blended mine for about 20 seconds, just to make it a little smoother. ENJOY! 


The BF gave it 2 thumbs up :) so I hope you try it! Please leave a comment if you do! THANK YOU! 

Thursday, April 17, 2014

Carrot Cake Cookies!

We're going to visit "the in-laws" (aka my boyfriend's mom and step-dad) this weekend for Easter, and I wanted to bake them something Easter-y, so of course I made carrot cake cookies! :)


I guess carrots and Easter don't technically go together, but it was one of those "honey rhymes with bunny and bunny rhymes with....rabbit?" moments; (The Many Adventures of Winnie the Pooh).
You get where I'm going with this....I hope.

ANYWAY! I saw this recipe on a blog called Yummy, Healthy, Easy for Carrot Oatmeal Cookies, and tweaked it a little to make own version! I'm sure the original is just as tasty, I just substituted some of the ingredients for what I had available, and switched out half the fat for applesauce to make them a little healthier.

Here is my recipe:

Ingredients

2 ½ cups white whole wheat flour
1 tsp. baking soda
¼ tsp. salt
½ tsp. baking powder
½ tsp. ground nutmeg
2 tsp. ground cinnamon
1 cup quick oats (not instant)
¾ cup brown sugar
¼ cup granulated sugar
1 stick (½ cup) unsalted butter (softened)
½ cup unsweetened applesauce
2 large eggs
2 tsp. vanilla extract
2 cups grated organic carrots (4-5 carrots)
¾ cup chopped walnuts

Directions:

Preheat the oven to 350 degrees F. Use a food processor (or grater) to grate the carrots. (I used a food processor). 
Combine the dry ingredients (flour, baking soda, salt, baking powder, oats, nutmeg and cinnamon). 
In a separate bowl, beat the sugars and wet ingredients (butter, applesauce, eggs and vanilla).
Mix in the carrots and walnuts. 
Scoop spoonfuls onto a lightly greased pan (I sprayed mine with the Misto). 
Bake for 13-14 minutes. Transfer to a cooling rack. 
ENJOY!

I LOVED these just the way they were (as did the BF) but my mom and brother said they could use some frosting.......(oy...) so feel free to dip yours in a quick frosting or eat them with ice cream!

Please leave a comment if you try this recipe! They're practically healthy so I think you should! :)


Mmm :)

Monday, April 14, 2014

Homemade Tooth Powder (Guest Post)

If anyone is still reading this blog, they will recall that in my first post that I mentioned how much I hated the homemade toothpaste that I had tried making.
Well, a good friend of mine (who happens to be a fabulous chocolatier), messaged me about my toothpaste comment and asked if I'd be willing to try her recipe (and blog about it of course!). Her recipe is A LOT different than the one I tried last year, so I said I'd give it a go! She sent me some a few days ago and since I first tried it, I haven't used ANY regular toothpaste!
This stuff is seriously AMAZING! True, it is brown, and looks strange to brush with, not to mention it turns your toothbrush brown-ish, BUT, it works SO WELL!
It does a fantastic job at cleaning my teeth, tastes WAY better than the toothpaste I was previously using, and is Junk-Free!


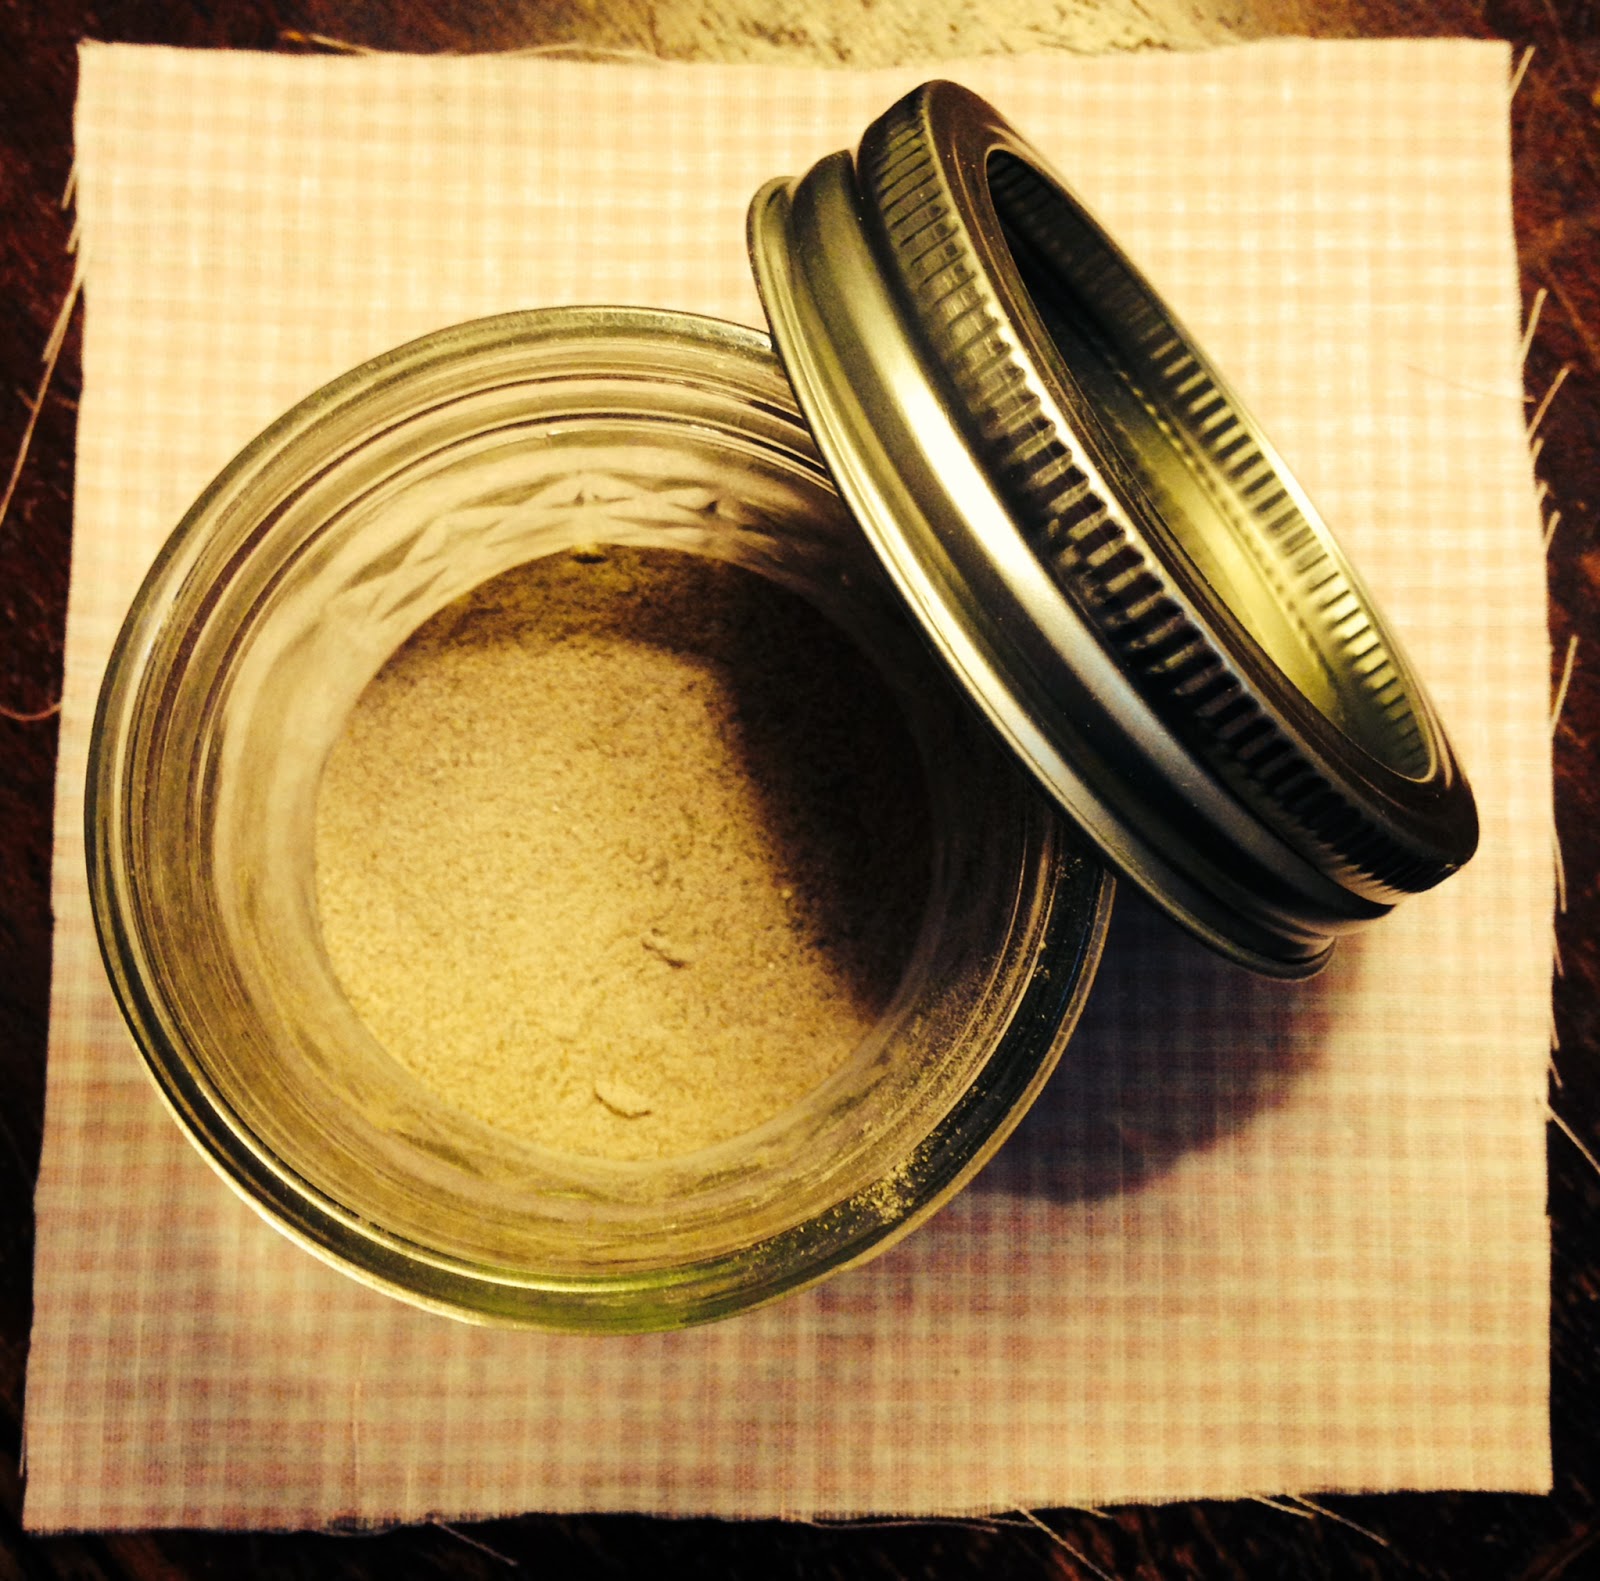
Finished Tooth Powder

Here is the recipe and what my fantastic friend Allie had to say about it:


"Out of the zillions of all natural products used as alternatives for the more chemically loaded ones, toothpaste seems the most reasonable and important to me. Why would you scrub so many chemicals on your teeth? Although you’re being told they’re good for you, you’re putting chemicals IN. YOUR. MOUTH. And you ingest them every time you brush your teeth. This does not sound right.
A good friend of mine (whom I refer to as the organic and all natural guru) introduced me to tooth powder. I made it with a huge dose of skepticism, but much to my surprise, I loved it. I must, however, give credit where credit is due: my friend got this recipe from another blogger who aims to help others live a more healthy lifestyle.
On this post, she explains why she puts the ingredients into the tooth powder, the benefits of using a tooth powder, and where to find many of these ingredients, among other things. I used her recipe pretty much as is, with one exclusion.
Here is my recipe and method, but if you want to read more about the tooth powder, definitely check out her blog!
Tooth Powder Ingredients:
  • 4 tbsp. Bentonite Clay
  • 3 tbsp. Calcium Magnesium Powder
  • 1 tbsp. Baking Soda
  • 2 tbsp. Powdered Mint Leaf (powder in food processor or spice grinder)
  • 1 tbsp. Cinnamon
  • 1 tsp. Clove Powder
  • A few drops of Essential Oil (I went with Peppermint)
Method:
Mix all the ingredients in a bowl with a spoon, or put them all into a small glass jar with a lid and shake to incorporate. I went with mixing it right into a mini mason jar because a) less dishes to wash and b) mini mason jars are adorable and I want to put everything in mason jars.
How to Use:
Wet your toothbrush and dip it into the powder. Brush your teeth like normal and rinse.
Notes:
This recipe makes approximately ¾ c. of tooth powder which lasts for months. The tooth powder is dark brown and over time, it will turn your tooth brush the same color, and it may leave a residue in your sink, but it’s easily rinsed out. Also, I omitted the Xylitol Powder from her recipe because it was only added for sweetness and I personally didn’t mind it without. Lastly, I would recommend if you want more than one member or your household to do this, get separate mason jars and label them for each person because #germs." 

I hope you try her recipe and let me know how you like it! I will definitely be adding it to my homemade recipe book!